Lab 1: ROS Introduction and PD Control
Goal
Get set up with the Raspberry Pi 5 hardware and build a robot that you can program PD control on using ROS2.
Lab Document
Fill out this lab document (https://docs.google.com/document/d/1FZ3WAwX1zRO5ivQpqraeYcaJwmDZFZVPRNCVBTsuZrw/edit?usp=sharing) with your answers to the questions and your code. You will submit this document to Gradescope.
Part 0: Setup
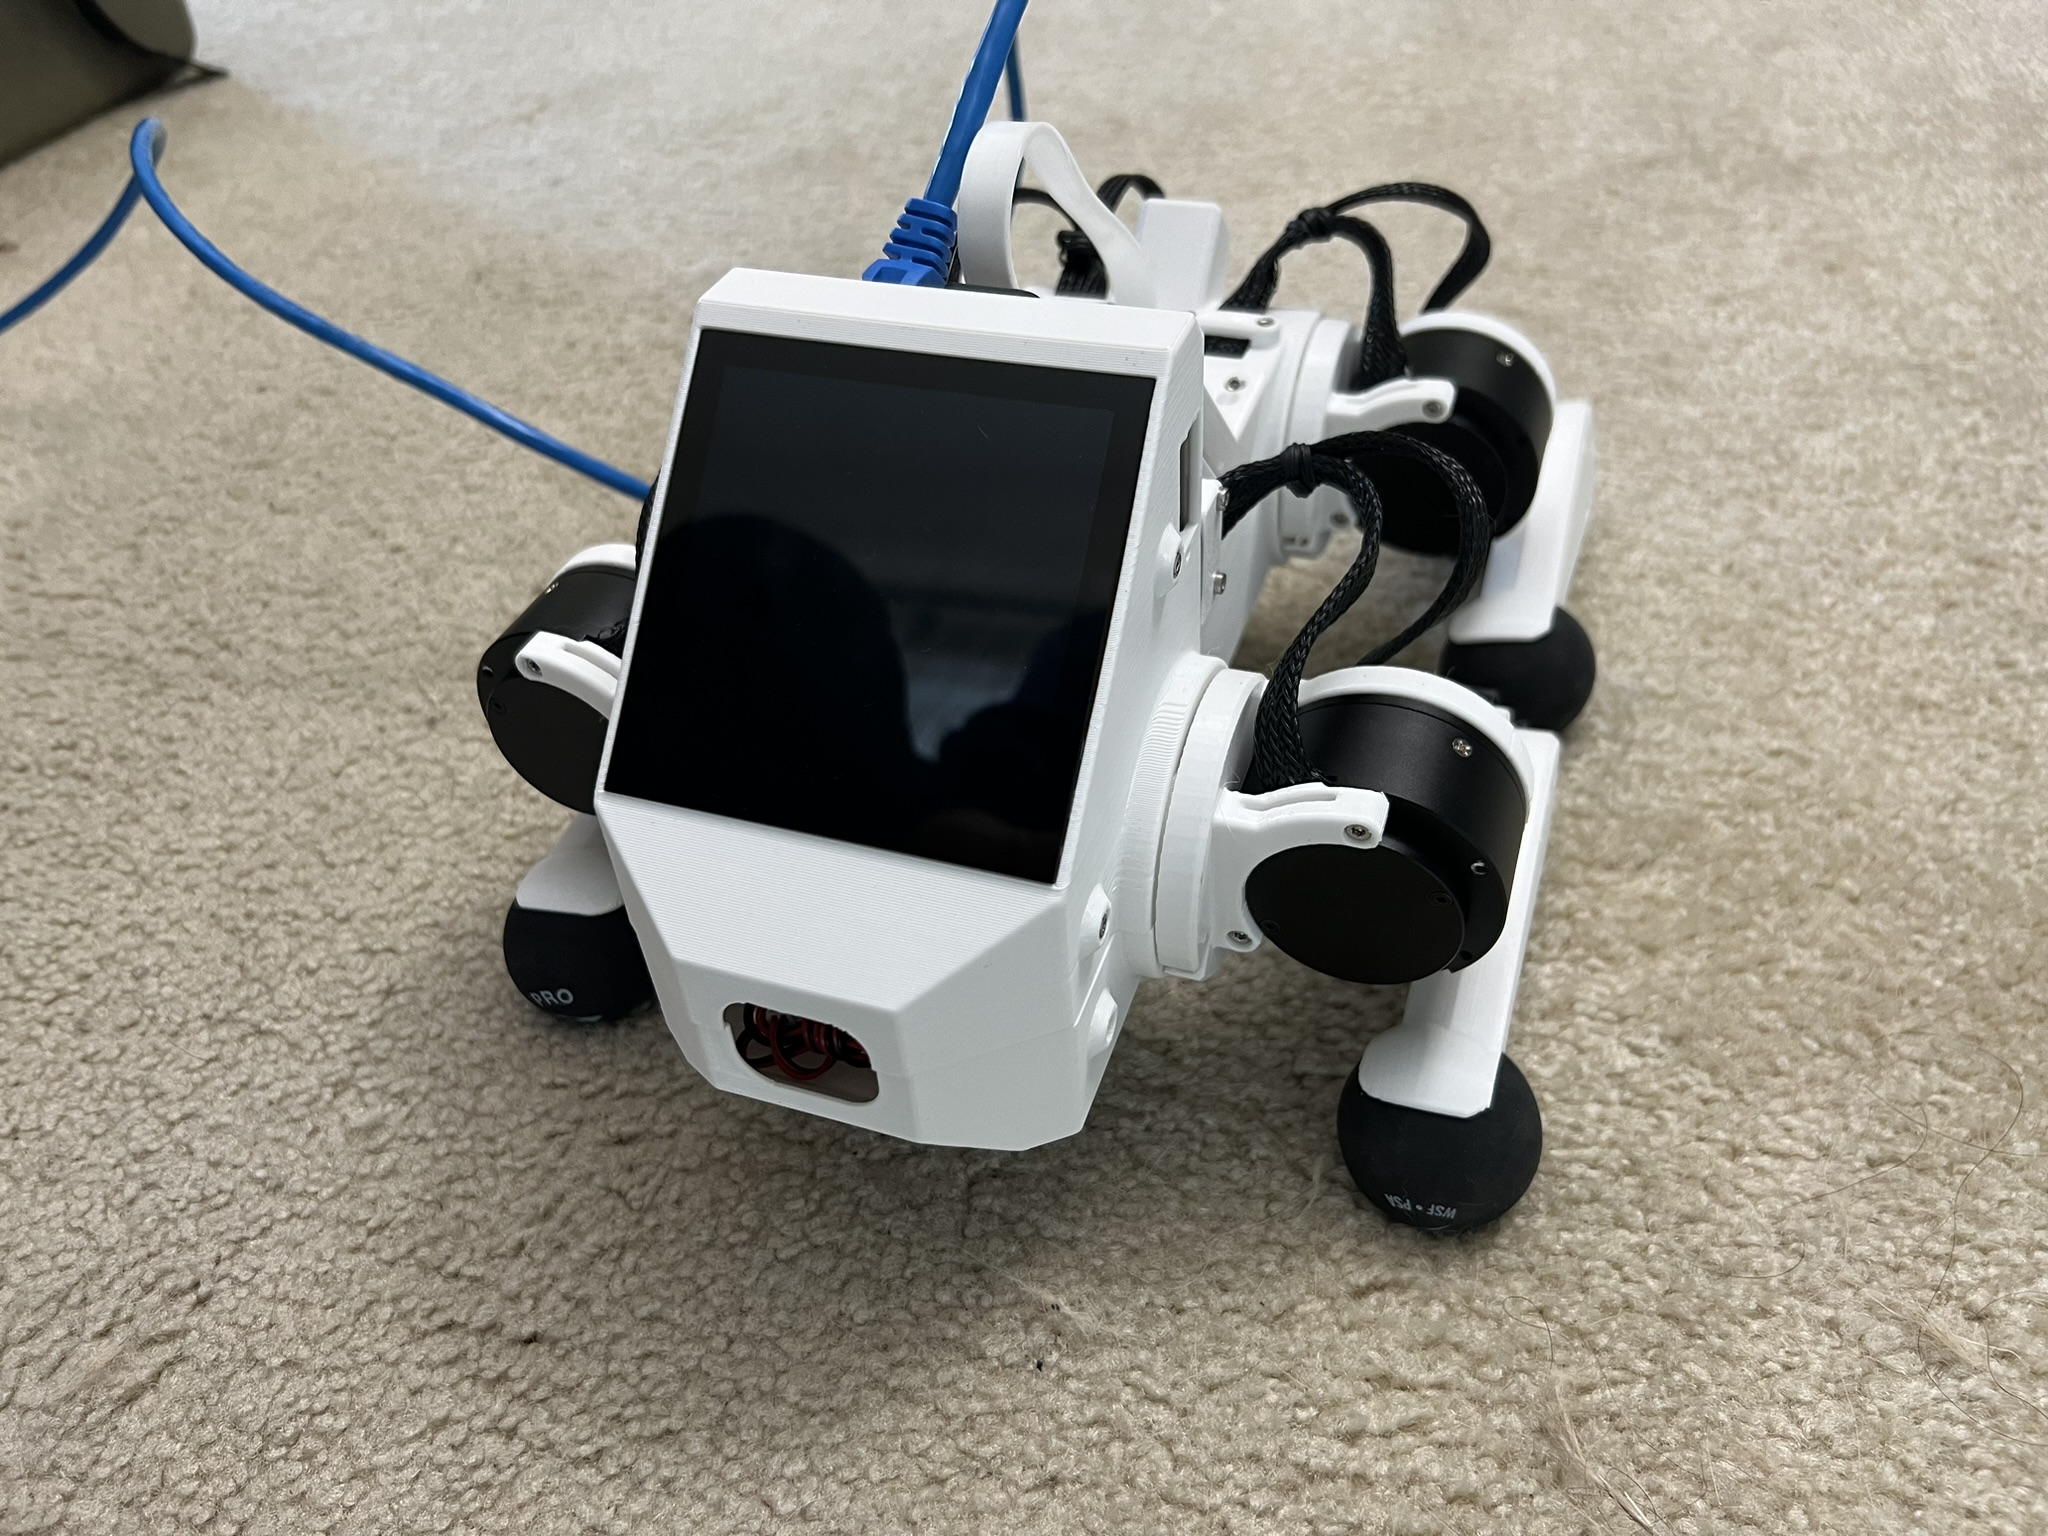
For this class, you will be doing all your coding and development on Raspberry Pi 5s, a minimalistic quad-core single-board computer often used in robotics projects. The Raspberry Pi will serve as the brain for our Pupper robot, communicating with the electronics board, motor drivers, and camera among other functions.
You should receive the following from the TAs:
Pupper robot: containing Raspberry Pi 5, pre-flashed micro SD card and etc.
Ethernet cable
HDMI cable
Monitor, keyboard, and mouse setup
Connect to the Raspberry Pi
Follow along the assembly instructions to build the robot body with motor dials: https://drive.google.com/file/d/1G-evq36QOEJLgNMRFhP06Nk44oQloq2K/view?usp=drive_link
Your USB drive should come pre-flashed. If your USB drive does not come pre-flashed, then flash the image at this link: https://docs.google.com/document/d/1KCq6sDU6E63y6-M0tVXG8qigIHJQKecC0eopReKi0_Q/edit. Use Balena Etcher to flash: https://etcher.balena.io/.
Option 1: Connect via the Monitor Setup (Recommended)
Connect the Raspberry Pi to the monitor using the HDMI - HDMI micro cable.
Connect the keyboard and mouse to the Raspberry Pi via USB.
Log in with the username
piand passwordrhea123after powering on.Connect to the class WiFi network: SSID: TP-Link_7951, Password: 32625073. Check that you can access the internet by running
ping 8.8.8.8to see if you are receiving bytes (8.8.8.8 is google.com).Install firefox:
sudo snap install firefox
OPTION 2: Connect via SSH (If you do not have access to the desktop setup)
- Secure Shell is a network protocol that provides a secure way to access and manage remote computers over an unsecured network. It offers strong authentication and encrypted data communications between two computers connecting over an open network such as the internet.
Connect your laptop to the Pupper robot using the Ethernet cable.
Enable internet sharing in system settings (turn on anything that looks like Ethernet).
SSH into the Raspberry Pi through terminal:
ssh pi@pupper.local(password: rhea123). If you would like to use VSCode, you can also connect to the Raspberry Pi using the Remote - SSH extension (Open Command Palette with CMD+SHIFT_P -> Remote-SSH: Connect to Host -> ssh)If this is successful, you should be able to see the Pi’s file system on your computer and access it remotely.

Enable internet sharing in system settings.
Part 1: ROS Introduction
We’ll be using ROS (Robot Operating System) throughout this course. ROS provides tools, libraries, and conventions that facilitate building robotic applications and allow different parts of the robot to interact with each other.
Familiarize yourself with the basics of ROS by reviewing the ROS introduction guide (https://wiki.ros.org/ROS/Introduction). Keep this guide handy as a ROS2 cheat sheet (https://github.com/ubuntu-robotics/ros2_cheats_sheet/tree/master) that you can refer to throughout the course. We also have a list of important ROS2 commands for this course here: https://cs123-stanford-2024.readthedocs.io/en/latest/schedule/lectures/fall-24/ros_intro.html.
ROS services in Pupper: robot.service manages control code (face controller, rl or heuristic controller, etc). See if controller is running:
systemctl status robot.serviceYou should see the status as “active (running)”. Checkout all topics and services:ros2 topic listandros2 service list.Since we are running custom code, we must disable the robot service before working on your code. This will prevent the robot from running any pre-existing code that may interfere with your work. Pupper falls after disabling the robot service, so make sure to place it on a soft surface. To disable the robot service, run the following commands:
sudo systemctl disable robot.service
sudo reboot
Calibration after rebooting: After rebooting, you may need to recalibrate the robot joints. Follow the following image:
Calibration after rebooting.
Troubleshooting. If you encounter any issues with ROS2 or the robot service, try the following:
If you see “ros_2 not found”,
source ~/.bashrcagain
Part 2: Hello PD
Step 1: Setup Lab 1 Code Base
Clone the lab 1 code repository on the Raspberry Pi and build the package:
cd ~/
git clone https://github.com/cs123-stanford/lab_1_2024.git lab_1
Note: Make sure the folder name is
lab_1. If you have a different folder name, you may need to update the launch file accordingly.Open the workspace in VSCode
Examine
<lab_1/lab_1.py>to understand where the motor angle and velocity are read and where the motor is commanded.Note: In ROS2 code, pay attention to publishers and subscribers defined in the
__init__section of the node definition. Publishers send messages to topics, while subscribers listen to messages on topics. Callback functions run when new information is published to a topic.
DELIVERABLE: Before running your code, explain in your lab document what you understand about the publishers and subscribers. What gets sent and received on each message publish? How does this correspond to what is physically commanded in the motor?
Step 2: Run ROS Launch Code
Check the launch description in
lab_1_launch.pyandlab_1.yaml. Familiarize yourself with the structure and parameters defined in these files.Run the launch file using the following command:
ros2 launch lab_1.launch.py
This command will start all the necessary nodes for your PD control experiment.
After running the launch file, you should see output in your terminal indicating that the nodes have been started successfully. If you encounter any errors, double-check your file paths and make sure all dependencies are installed.
Open a new terminal window (if using SSH, you can open multiple connections to your Raspberry Pi, or add a terminal from VSCode) and run the following command to see the list of active topics:
ros2 topic list
You should see topics related to joint states and commands. These are the topics your node will be publishing to and subscribing from.
To inspect the data being published on a specific topic, you can use the ros2 topic echo command. For example:
ros2 topic echo /joint_states
This will show you real-time data about the joint states of your robot leg.
DELIVERABLE: In your lab document, provide screenshots of:
The terminal output after running the launch file, showing successful node startup.
The list of active topics you observed.
A sample of the joint states data you saw when using the ros2 topic echo command.
Also, answer the following questions:
What nodes are being launched by your lab_1.launch.py file?
What parameters are being set in the lab_1.yaml file, and what do you think they control?
Based on the topics you observed, how do you think the different parts of your robot control system are communicating with each other?
Remember, understanding how the launch system works and how to inspect your ROS2 system is crucial for debugging and developing more complex robotic systems in the future.
Step 3. Run bang-bang control
Open
lab_1.pyand locate the PD control implementation. For this step, you will implement Bang-bang control before PD control. Remember that bang-bang control is a simple control strategy where the control input is either on or off. In this case, the control input is either positive maximum torque or negative maximum torque. The control input switches when the motor angle crosses a threshold.This can be accomplished by a block of if statements. Implement bang-bang control in the lab_1.py file. Run your code by starting a new terminal, navigating to the lab folder, and running
python lab_1.py
DELIVERABLE: Take a video of your bang bang control to upload to Gradescope with your submission
Step 4: Implement P Control
Implement P control in the lab_1.py file by replacing your implementation of bang-bang control. The P controller is more robust than bang-bang control. The proportional gain (Kp) is used to tune the controller.
Start with Kp = 2.0

P Control Equation.
Step 5: Implement PD Control
Implement PD control in the lab_1.py file by replacing your implementation of bang-bang control. The PD controller is more robust than only P control, and is common control strategy used in robotics to stabilize systems. The proportional gain (Kp) and derivative gain (Kd) are used to tune the controller.
Start with Kp = 2.0 and Kd = 0.3. Implement the PD control law using the following update equation:

PID Control Equation.
Where:
tauis the commanded torque for the motortheta_targetis the target angleomega_targetis the target angular velocity (usually 0)theta_currentis the current motor angleomega_currentis the current motor angular velocityKpandKdare the proportional and derivative gainsr(t)known as a feedforward_term, is a constant term that you can use send a constant torque to the motor. For us, we just use 0.
Run your code
python lab_1.pyand observe the behavior of the PD controller.
DELIVERABLE: Answer the following questions in your lab document:
How does the leg respond to manual movements?
What happens when you change Kp and Kd values?
Find and report the optimal Kp and Kd values for your setup.
Step 6: Experiment with Different Parameters
Experiment with different Kp and Kd values and observe the effects. Be prepared for potential instability!
For each situation, manually rotate the leg to get a physical sense of the PD behavior. Report your findings in your lab document.
Vary Kp while keeping Kd constant (0.1). Try Kp values from 0.5 to 5.0.
Vary Kd while keeping Kp constant (2.0). Try Kd values from 0.1 to 1.0.
DELIVERABLE: Report your findings for each experiment in your lab document.
Step 7: Experiment with Delays in the System
Introduce a delay in the system by adding a buffer in the current motor angle and velocity readings. This simulates the delay in the physical system.
Experiment with different delay values (e.g., several steps of delay).
from collections import deque

# In your initialization:
self.delay_buffer_size = int(delay_seconds * control_frequency)
self.angle_buffer = deque(maxlen=self.delay_buffer_size)
self.velocity_buffer = deque(maxlen=self.delay_buffer_size)

# In your control loop:
self.angle_buffer.append(joint_pos)
self.velocity_buffer.append(joint_vel)
joint_pos = self.angle_buffer[0]
joint_vel = self.velocity_buffer[0]

#####
# You can also instead delay the output torque
#####
DELIVERABLE: Report your findings in your lab document. How does the delay affect the performance of the PD controller?
Step 8: Implement Periodic Motion
Program the leg to track a sinusoidal position:
import time
import math

current_time = time.time()
joint_pos_desired = math.sin(current_time)
Experiment with different frequencies of the sine wave.
DELIVERABLE: Take a video of the leg performing periodic motion and upload it to Gradescope with your submission.
Additional Notes
ROS2 Workspace:
All robot-relevant code is in
ros2_wsKey packages:
Neural controller (policy support)
Hardware interface (motor control)
Pupper feelings (face control)
Pupper descriptions (URDF files)
Motor Control:
Refer to the control node and joy node
URDF is the source of truth for CAN IDs
Joint states topic provides current motor states
Congratulations on completing your first lab! This hands-on experience with ROS2 and PD control on a real robot will serve as a foundation for the more advanced topics we’ll cover in future labs.